
6 Basic Steps for Lamp Replacement
You should always refer to the owners manual for the proper specific steps but if you have a pretty basic Projector or Rear Projection TV, these steps should get you back up and running.
1. Preparing the Projector to Be Opened
Before attempting to open the projector, users should turn off and unplug the device. They should also allow the device to cool down. It could take anywhere from 30 to 45 minutes for the projector to cool down completely. Then remove any dust on the outside casing with a soft, dry, and clean cloth. This will ensure that dust does not enter into the machine and get onto the vulnerable interior parts.
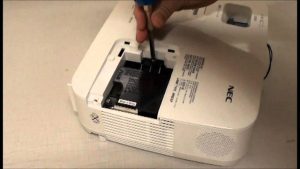
2.Remove Lamp Access Door
No matter what the cover or the compartment door must be opened. You will most likely need a screwdriverto remove the screws that keep the cover or door closed. Once the screws have been removed, you can carefully remove the panel or door. You should also take the time to unscrew any screws that may be keeping the housing unit of the lamp in place before attempting to remove it.
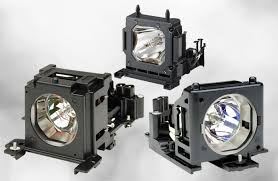
3.Taking Out the Old Projector Lamp
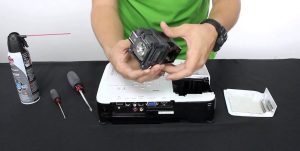
This is a step that users must take care to complete properly. Doing otherwise may cause the old projector lamp to burst, which is dangerous for both the projector and the user. Because projector Bulbs inside the lamps are very fragile. They can burst after starting because they have come into contact with the natural oils that are present on fingers. this causes the glass of the bulb to expand at different rates when it heats. For this reason you should always use the handle on the lamp to pull it out.
4.Putting In the New Lamp
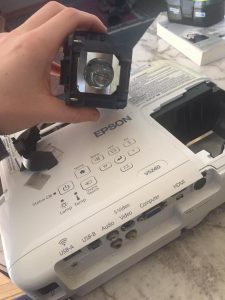
Once the old lamp is removed, the user can then place the new lamp housing unit inside of the Projector/TV. Users should make sure to slide the housing unit fully into the projector, with the new lamp in the same position that the old one was in. Certain projectors may require that power cables be reconnected to the new lamp. If this is the case, users should follow the manuals for specific instructions on how to do this.
5.Getting the Projector Ready to Run Again
When the switch has been made, you can screw the new lamp housing unit into place and then re-attach the lamp access panel. Be sure to not over-tighten the screws. At this point, the users can reconnect the projector to the electrical outlet and turn on the project to see if the new lamp works. If the projector still does not work after the lamp replacement has been made, there may be a larger issue that is causing the problem. In this case, users should seek the help of professionals specializing in projector repair in order to determine the right course of action.
6.Resetting the Lamp timer
If the projector is working properly, then the user will need to reset the lamp counter so that it can begin tracking time for the new lamp that has just been installed. Some projectors might reset lamp counters automatically, but for those that do not, users may need to do this manually through the projector menu. After completing all of these steps, the projector should be ready to provide hours and hours of entertainment once again.